Lightbox Project :)
-
I've been toying around with the idea of making one of these for while now. After Eodtech made this post, I decided I had to try it!
I went to my local Menard's store and picked up everything I needed. I decided to use the LM Surge to help with this project because of it's ability to use t-shank blades.

The components were all readily available and easy to find. The drill bit is used to drill the holes in the pvc to mount the background holding screws. I had intended on trying to use the Surge to hand drill the holes, but it ended up being harder to do than I thought. (I need a bit adapter :) )
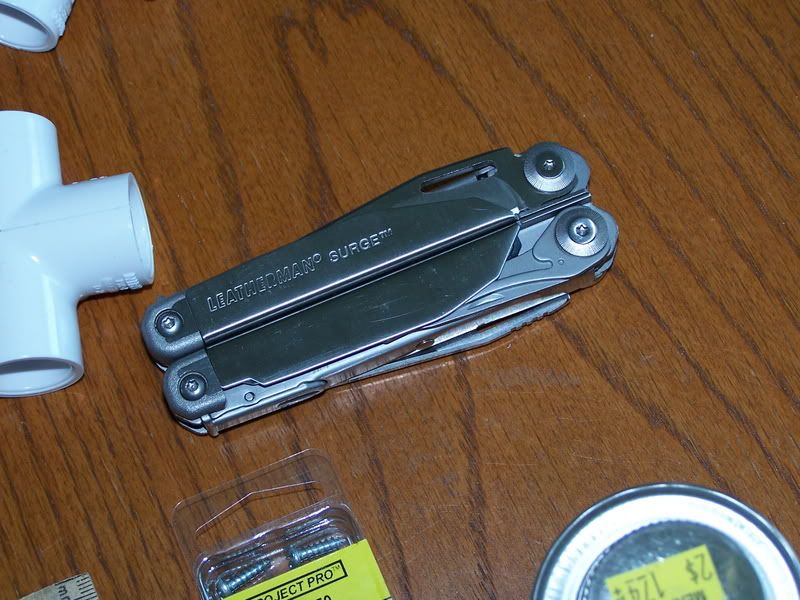
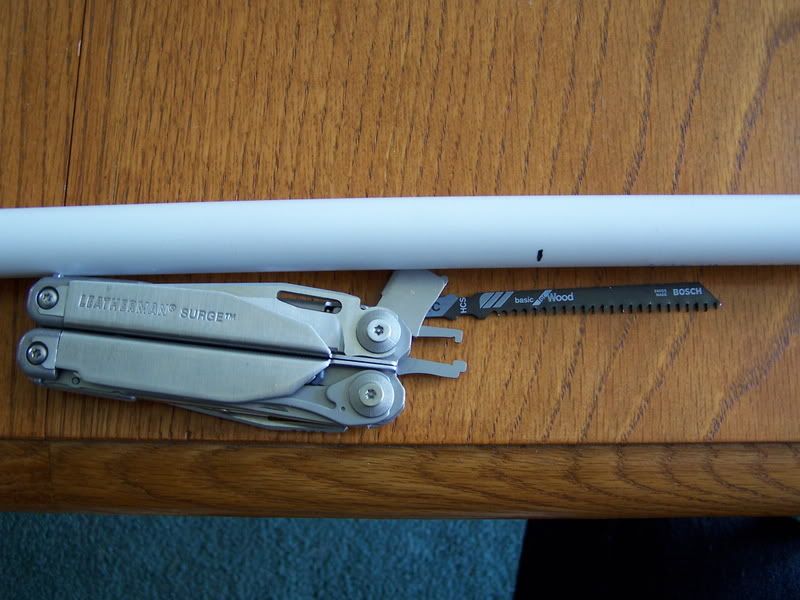
I picked the Surge for this project for one reason only. The t-shank blade adapter.

The t-shank blades were a little loose in the adapter. It's wasn't noticeable while cutting, and the blade cut thru the PVC pipe very quickly. Even with the short blade and short stoke used, I didn't have any trouble with making the cuts.

The frame for the lightbox went together pretty quickly. I was able to make all the cuts using the Surge in a couple of minutes. After cutting, it just needed to be assembled.


I decided against using the PVC cement due to it going together pretty tight. If any of the pieces start to back out, I'll cement them then. It went together pretty easy, and I was able to get it to square up nicely.

The screws are used to hold up the background. I'm using pieces of posterboard as my backgrounds. I punch holes in the posterboard, then hang it on the screws. It works very well, and makes changing backgrounds simple.

The final step was tossing an old white bedsheet over the whole thing, and setting up the lights. I'm just using a couple of adjustable desk lamps with halogen bulbs in them.


The entire project took about an hour, and that's including setup of the lamps and camera. I'm pretty happy with how it turned out. I'm also happy that it gave me an opportunity to use one of the unique features on the Surge.
-
-
Very cool! Thanks for sharing this info. I'm just a beginner and my photography isn't quite as advanced--neither is my $60 "blue light special" camera! I take most of my photos on a table near a window. Someone taught me a trick that you may find helpful... In Photoshop, there is an "Auto Color" feature that works quite well. This is especially helpful for guys like me that threw out the instructions for their camera without ever reading them! ::)


-
I like that project a lot Mike, great post!
I've got to get off my butt and make something like that. All my pictures are too shadowy.
-
When I made up my light tent I glued all the upper parts of the frame together and just pushed the 4 legs into the upper frame. Doing this will allow disassembly after use - this make storing the tent a lot easier.
Nice job on the project, I also made a smaller frame for the top section and use the same 4 legs for both frames.
I also found it easier to use different colors of cloth ( from the remanents bin at the fabric store + Walmart) and placing grommets on the top edge to hang the cloth from the screws. The poster board gets nasty and tears with a lot of use, using cloth you can wash it if it gets messy.
-
@eodtech said:
I also found it easier to use different colors of cloth ( from the remanents bin at the fabric store + Walmart) and placing grommets on the top edge to hang the cloth from the screws. The poster board gets nasty and tears with a lot of use, using cloth you can wash it if it gets messy.I'm really considering doing this. I think using cloth could give me a lot more options with backgrounds, plus I'd be able to place objects under the cloth for tools to sit on. Right now I either have to figure out how to get them to stand straight up, or lay them down...
-
I also found it easier to use different colors of cloth
I'm really considering doing this. I think using cloth could give me a lot more options with backgrounds, plus I'd be able to place objects under the cloth for tools to sit on. Right now I either have to figure out how to get them to stand straight up, or lay them down...
ALSO try using some cheap wallpaper - any plain white or softly muted earthy color will do. Have a look through end-of-run and odd lot bins, there's usually a reasonable selection - and a lot cheaper than artist's board. Just remember that if you are using incandescent lighting, it might be worth setting up your camera's 'white-balance' to suit the paper's color reflectivity.
REF: White balance - I let my software do the correcting for me as mentioned previously in the post. Some of the MTN's may want to mess around with white balance setting on the digital camera...
MTN = Macho Techno Nerd
-
@supratentorial said:
I'm just a beginner and my photography isn't quite as advanced--neither is my $60 "blue light special" camera!ALSO
AND
MORE LINKS HERE:
-
When it comes to taking these types of pictures, nowadays almost any camera will do a decent enough job, especially when the subject is in a lightbox. You shouldn't have to do too much fiddling with the settings to get great pictures of what you want- with my Kodak (z650, now around $200 everywhere) I usually leave it set to "Auto" and activate the macro setting, and that's pretty much it. If I go the extra distance, I will play with the exposure settings to lighten the picture, but that's usually about it.
Admittedly my pictures aren't the best, but then I also don't spend a whole heck of alot of time on them, and I usually don't do much for editing except to crop and shrink them, and that much I do in MS Paint.
Def
-
I took a couple pictures of my light tent ( without the sheet covering )- It measures about 17" x 20" because 99.9% of my photos are of small items. I use cloth for my background / backdrops with grommets in the top to hook onto the small bolts. The two small clamp on lamps are good for overhead lighting, along with desk lamps for side lighting. The legs are not glued in so the frame can be stored easily. Mini Ultrapod II is from "REI.COM"
<img src=http://www.gulftel.com/gnoza/ebay/frame1.jpg>
<img src=http://www.gulftel.com/gnoza/ebay/frame2.jpg>
<b>NOTE: the brass oil lamp is marked "USLHS"</b> and is dated 1926.
It from the U.S. Light House Service and will be headed for eBay in a couple months.PS for DEF: Got a new watch yesterday !


Hello! It looks like you're interested in this conversation, but you don't have an account yet.
Getting fed up of having to scroll through the same posts each visit? When you register for an account, you'll always come back to exactly where you were before, and choose to be notified of new replies (either via email, or push notification). You'll also be able to save bookmarks and upvote posts to show your appreciation to other community members.
With your input, this post could be even better 💗
Register Login




