
Charge+ Re-assembly
-
So... I done messed up. I have a Leatherman Charge+ that ended up rusted after a particularly soggy recent trip, and I took it apart to clean it up. Now I can't find instructions for how to put things back in order correctly, especially the various washers, etc. Can anyone help me? I keep stumbling across the same YouTube video again and again that doesn't actually take it all the way apart.
-
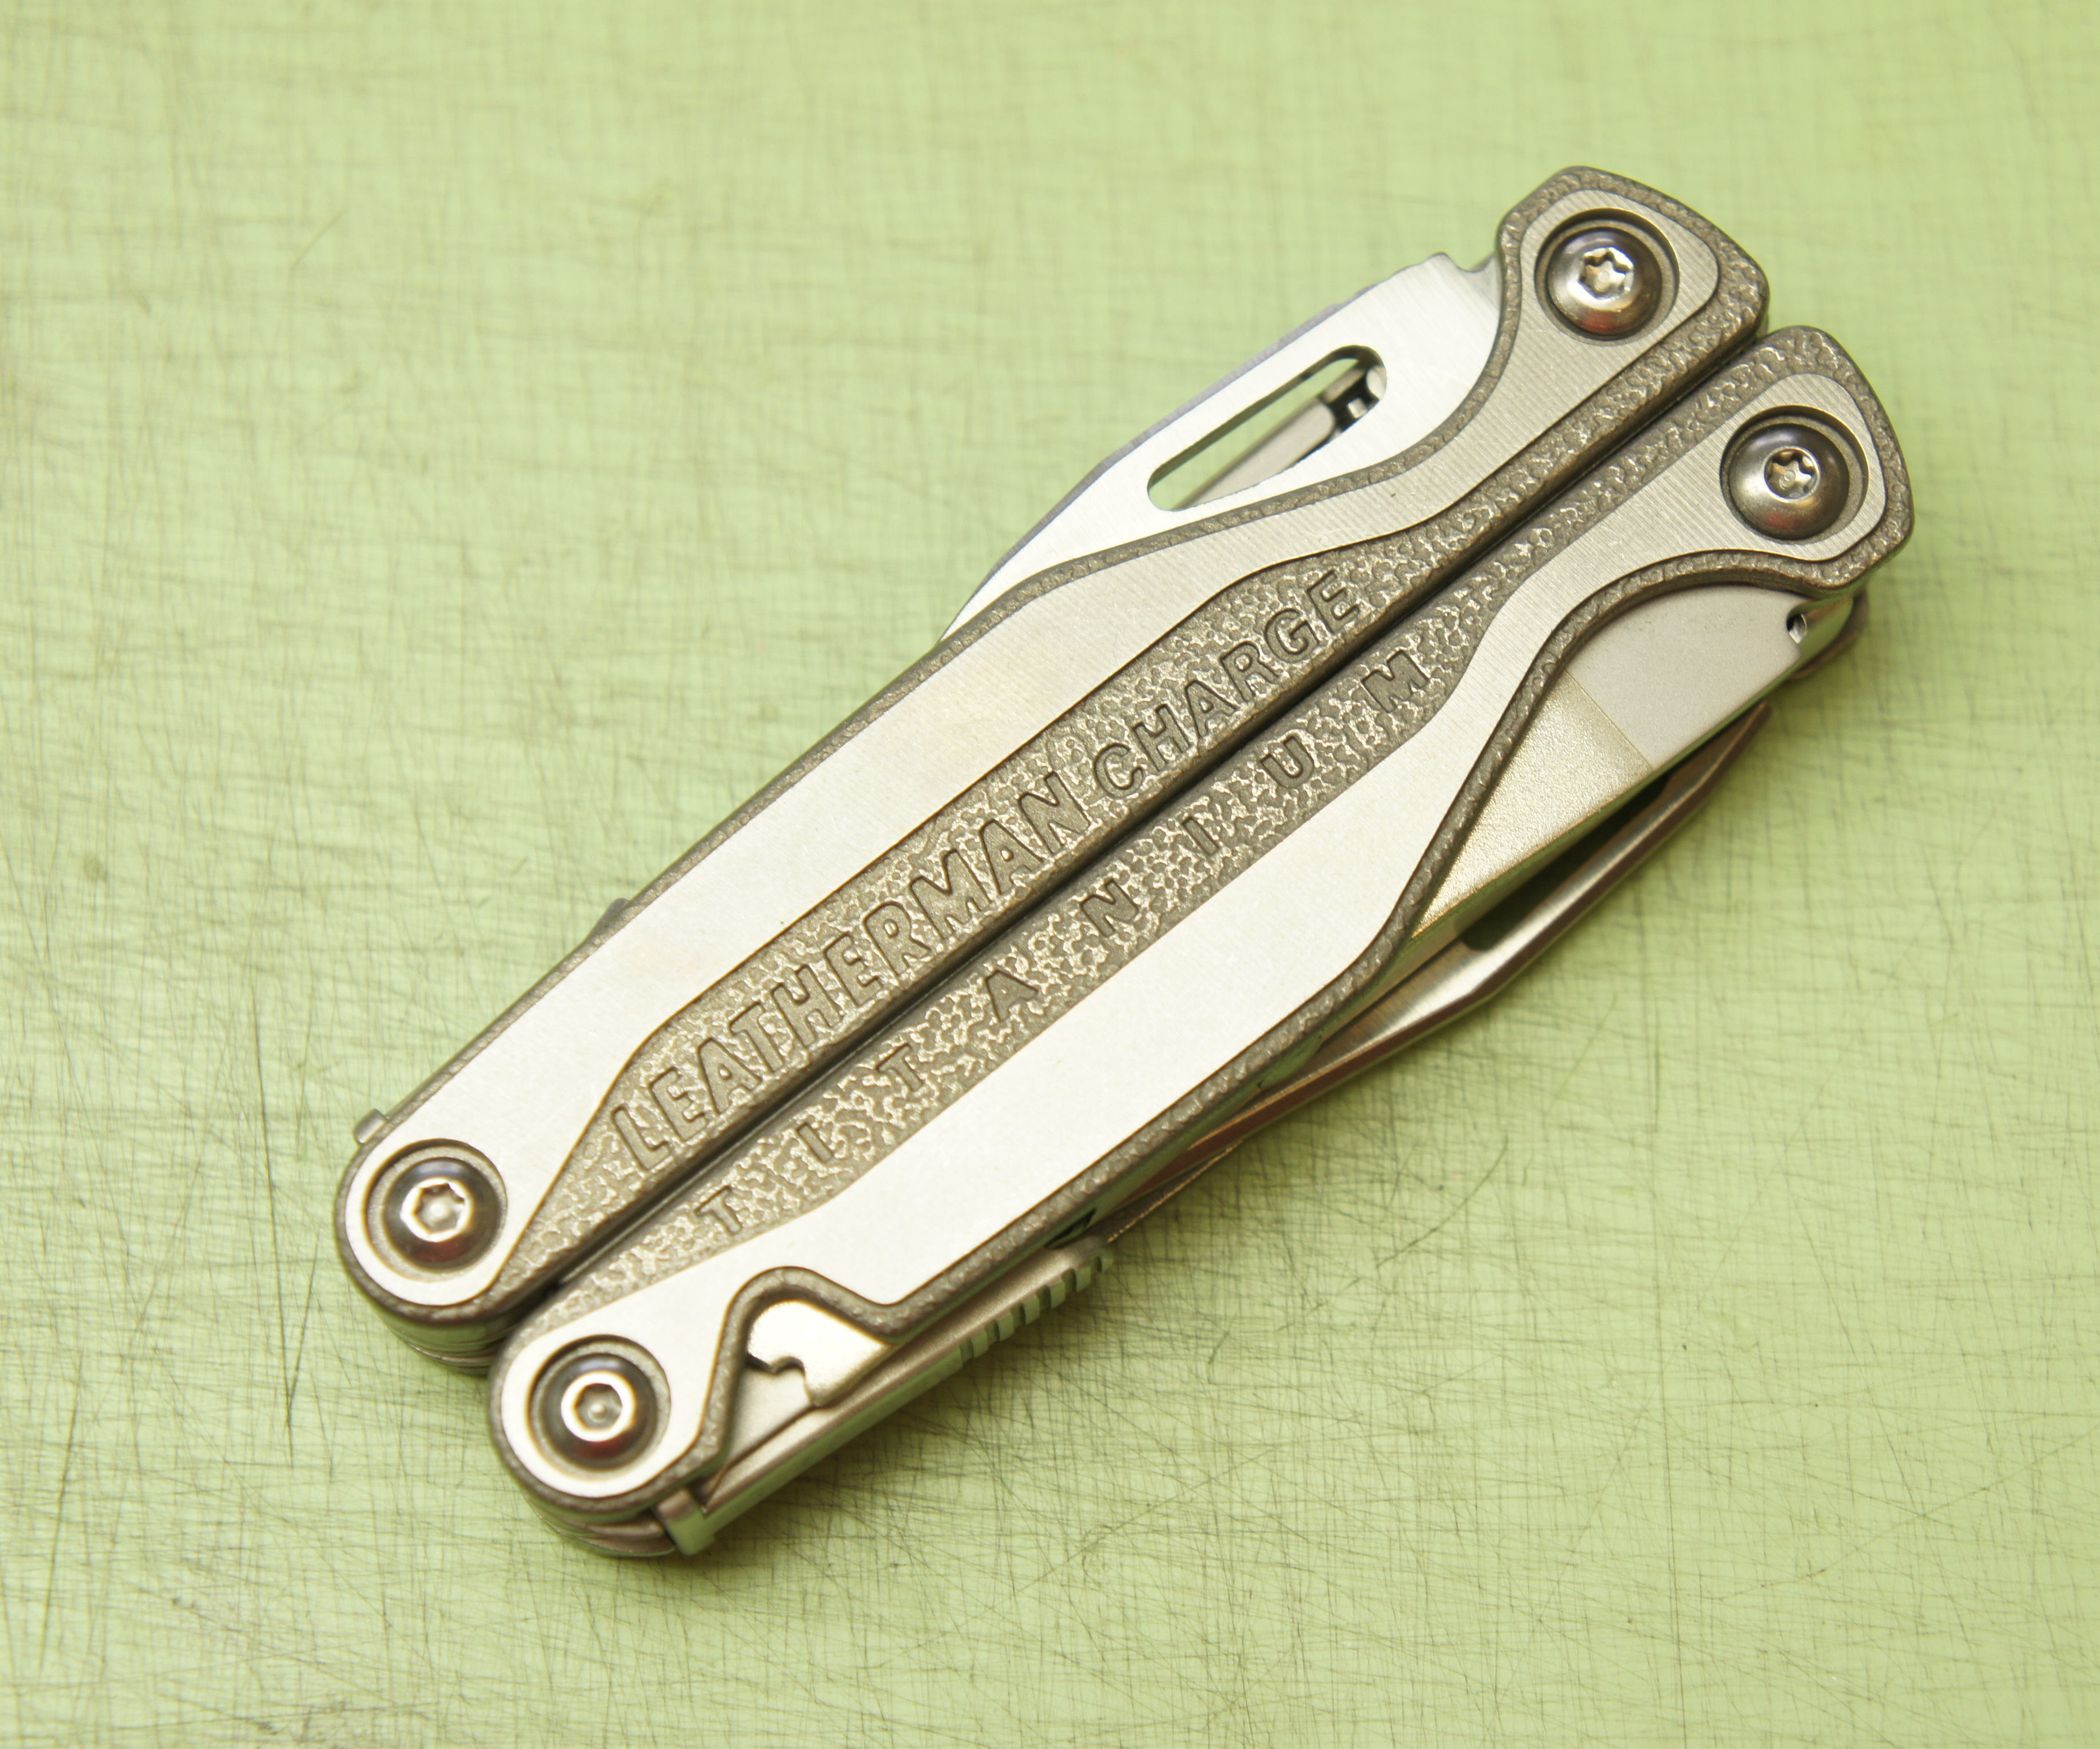
How to Take Apart and Re-assemble a Leatherman Charge TTi
How to Take Apart and Re-assemble a Leatherman Charge TTi: This Instructable will demonstrate a full break down and reassembly of a Leatherman Charge TTitool. The focus is on the proper placement of parts along with some tips and tricks to make it go easier. We'll be using a couple specialty tools, but you …
Instructables (www.instructables.com)
-
@genevabuck said:
https://www.instructables.com/How-to-take-apart-and-re-assemble-a-Leatherman-Cha/Thank you - this helps a lot! Unfortunately, I don't know if it's because the instructions assume more knowledge than I have or if there are differences between the Charge+ and the Charge TTi but this doesn't seem to be working for me. I have it mostly reassembled and I can tell that I'm going to have a number of leftover bushings, there's an unexpected gap on one side, and the exterior functions don't align correctly. But I think that it did get me to the correct placement of all the tools, which is a huge step in the right direction. I'll do some research and experimentation to see if I can figure out where these extra parts go and I'll bet that will fix the alignment issues - I'll try to update here if I figure it out.
-
@Andrew Bouchard said:
Thank you - this helps a lot! Unfortunately, I don't know if it's because the instructions assume more knowledge than I have or if there are differences between the Charge+ and the Charge TTi but this doesn't seem to be working for me. I have it mostly reassembled and I can tell that I'm going to have a number of leftover bushings, there's an unexpected gap on one side, and the exterior functions don't align correctly. But I think that it did get me to the correct placement of all the tools, which is a huge step in the right direction. I'll do some research and experimentation to see if I can figure out where these extra parts go and I'll bet that will fix the alignment issues - I'll try to update here if I figure it out.The little tiny bushings or the larger copper ones?
-
@genevabuck said:
The little tiny bushings or the larger copper ones?Right now it looks like I'm going to end up with two steel bushings with flanges, two thick copper washers about 12mm in diameter, and two thinner copper washers about 9 mm in diameter.


Hello! It looks like you're interested in this conversation, but you don't have an account yet.
Getting fed up of having to scroll through the same posts each visit? When you register for an account, you'll always come back to exactly where you were before, and choose to be notified of new replies (either via email, or push notification). You'll also be able to save bookmarks and upvote posts to show your appreciation to other community members.
With your input, this post could be even better 💗
Register Login


