
The Raspberry Pi
-
I already have a good set of disk tools built into my Ubuntu install.
The annoying things for me about working with the pi are:
The microSD slot is an epic PITA to get cards out of, even more so in the case I have, I typically have to start it with a utility knife. I wish it had an eject tab or was spring loaded.
Also, I wish it came with a power/reset switch by default (I think the nespi cases have one) rather than having to pull the power cord.
I wish the input/output jacks were on opposite ends, ie power/video/audio/lan opposite the USB rather than 90-degree separation. This way I could have all my main cables running back and the USB in the front for keyboard/mouse/gamepad. This could be solved by using a powered USB hub and mounting the whole thing in a larger enclosure... but obviously, I'm thinking of trying to keep it simple.
I realize most of these issues are moot with a nespi case (or the superpi cases!)
Can you swap sd cards easily in the nespi or do you have to pull the pi out each time?
-
I'm really liking the look of the famcom styled superpi case vs the North American Super Nintendo styled one
-
Ok..today was build day. I had a few minor hiccups.
I dry fitted the Pi to the case, and then though it might be a good idea to secure it to the bottom half of the case. Mind you, I did this without plugging all those cables into the Pi...that was a mistake. I had to unscrew the Pi to properly plug in the network cable.


I read the instructions and looked at the photo a few times to install the little fan.

Then I noticed there were 3 heatsinks that came with the Retroflag NesPi case.

I had to look online to find out that the flat copper one goes underneath the Pi.

I had to unscrew the two screws (I wonder why they didn't provide 4 (probably for idiots like me who have to keep removing said screws for something or another, and the instructions showed that both screws go where they are illustrated in the photograph). After placing the bottom heat-sink (peeling that blue tape was hellafun), the two top ones were next. I used a wrung almost dry alcohol pad to prep the chips before heat-sink installation. Time to screw it back in once again.

I like this case. I am not quite up to installing an OS or even RetroPi on it as of yet.


Time for a few comparison photos with the CanaKit case which was included in the kit. As you can see, it is super small, and doesn't offer much in board protection.


Here is the best part, on the CanaKit case, the front flap will not stay open...meaning it will always clamp down on your cables...which is probably a good thing as the Pi is wide open from that end...still fiddly I would think. I had to use tweezers to keep the slot open. Never mind that the two buttons on the front of the CanaKit are just molded plastic and nonfunctional.

Finally found the included SD card from the CanaKit.
.
Next step is to read more before I play with the software end of things.
Must say, this does fit in nicely with the other mini consoles.

-
Very cool, Chako 8) Retropie is so much fun to play and reminisce
 I need to get mine hooked back up and reload it on my Pi
 Love that NESPi case as well

-
Just got this in..a Retroflag MegaPi case.


I did notice that they included a much nicer Phillips driver with the MegaPi case as opposed to that included with the NESPi case.

I haven't built the MegaPi system yet...but here is a shot of it next to the NESPi + case.

I also received this kit as well...but it came with a 3 B as opposed to the 3 B+ that was advertised. After doing a bit of research, there aren't many differences between the two so I have decided to not return it.


-
I just finished the install and I must say, this case was a bit more difficult to shoehorn everything in it. The MegaPi is slimmer and you have to install the Pi upside down. Minor difficulties occurred trying to bend the stiff power wires and also bend the two USB leads into such a tight space, made all the tighter due to the installation of the fan. The case is a lot nicer to look at once everything is pushed and coaxed into place. Love the better and larger card storage opened via the volume lever. The Ethernet and 2 USBs are hidden behind a corner of the case that slides off to expose them. There is a small hole that can be uncovered if you need to pass a cord through that removable corner piece.. Not as convenient as that found on the NESPi which are all on the front accessed via a very nice spring loaded trap door. A huge plus is the micro SD card slot that is hidden behind another spring loaded trap door. You have to get a fingernail under it to pry it open, but once opened, it stays as such. A nice touch...but an even nicer touch is the easier access to the SD cards. On the NESPi, it is difficult. On the MegaPi, the card sticks out a little more making it a lot easier to pull it out, and to also push one in. The NESPi card slot has room to push an SD card below the port, and into the case. They fixed that with the MegaPi as there isn't enough room for this to happen. I think the MegaPi just might be my favorite case so far. The NESPi does have a lot more room for air movement inside the case. I think it might be the better solution is you are thinking of overclocking the Pi as you could fit a larger fan assembly or heat-sink...if that is even needed. The MegaPi case however looks a bit more polished and decorative. The larger SD storage that can store multiple micro SD card adapters let alone a load of micro SD cards is a winner compared to the much smaller one found on the NESPi. To be fair, the NESPi can store around 10 micro SD cards...but the one on the MegaPi is on a totally different level.

Why do I feel like I should buy a couple more Raspberry Pi 3 B+ board and get a SNESPi and FamiPi cases to go along with the micro console collection.
-
While it's great they try and reduce the footprint as much as possible on the mini systems, a little breathing room wouldn't be a bad thing.
-
@Whoey said:
While it's great they try and reduce the footprint as much as possible on the mini systems, a little breathing room wouldn't be a bad thing. it looks pretty cool though 8)
I have been trying to decide which wireless controller would be best
any suggestions, I have heard the ones for Xbox and some of the Playstation controllers are just the thing but does anyone have a preference or is there any different brands that I haven't noticed that might be better Logitech is the brand I have for my PC and the one I have used but it has a wire and I would rather have a wireless one so I could sit back a bit further -
While it's great they try and reduce the footprint as much as possible on the mini systems, a little breathing room wouldn't be a bad thing.
it looks pretty cool though 8)I have been trying to decide which wireless controller would be best
any suggestions, I have heard the ones for Xbox and some of the Playstation controllers are just the thing but does anyone have a preference or is there any different brands that I haven't noticed that might be better Logitech is the brand I have for my PC and the one I have used but it has a wire and I would rather have a wireless one so I could sit back a bit further I have a wetek Bluetooth controller I picked up on amazon on sale, it also works as a pure usb controller if needed, most new controllers should be similar with a retropie setup
-
Thanks Whoey
 I'll give those a look

-
If you have access to newer bluetooth console controllers they should work.
-
I dont have any of the newer controllers :-\ that's why I was wondering
didn't want to buy something and it not work if I could ask first -
yup, go with whatever looks/feels/fits the budget right for you, if it's PC compatible it should be fine.
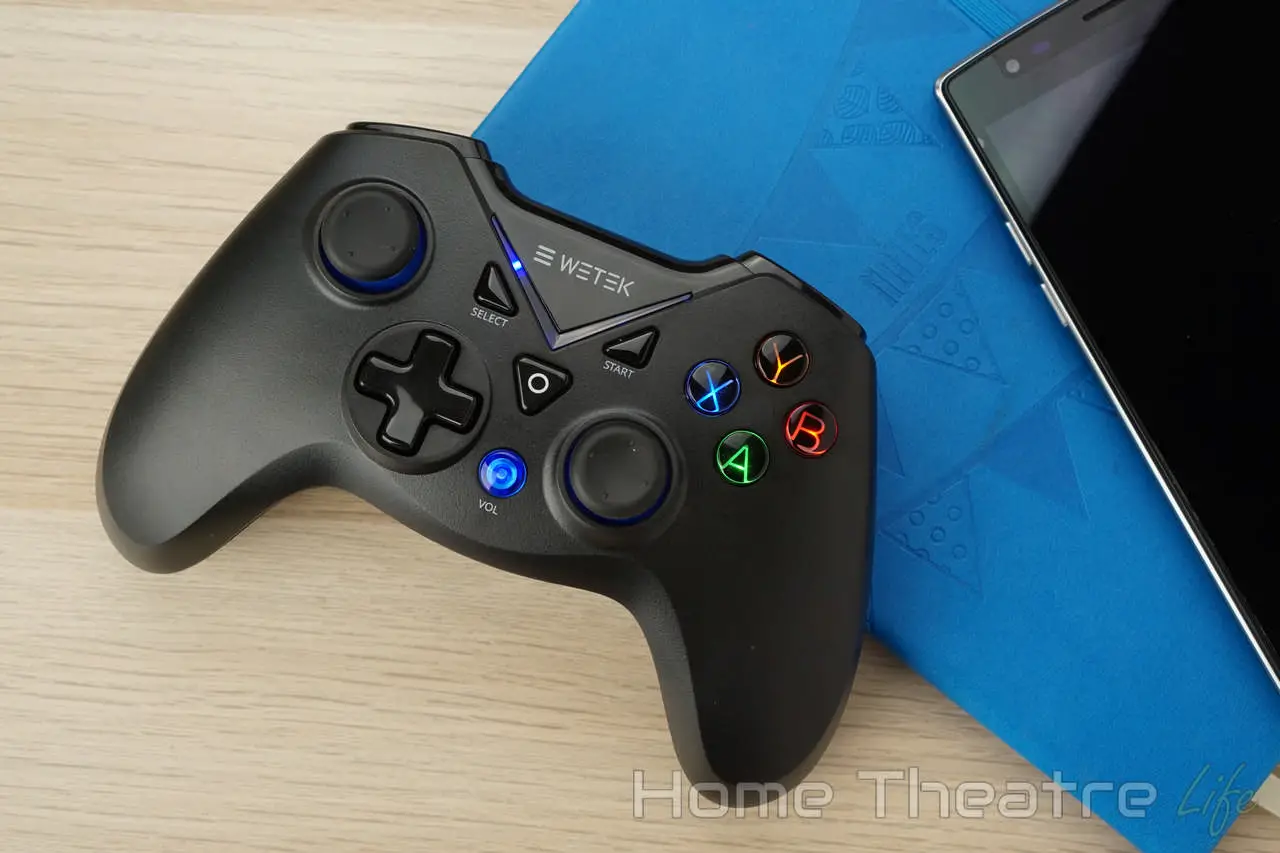
WeTek Gamepad Review: How Good is WeTek's Controller ?
WeTek Gamepad Review: The WeTek Gamepad is a Bluetooth controller compatible with both Android and Windows for under $40. Find out if it's worth it!

Home Theatre Life (hometheatrelife.com)
I got mine for less than half of what they say in that review, so I think it's a winner.







Hello! It looks like you're interested in this conversation, but you don't have an account yet.
Getting fed up of having to scroll through the same posts each visit? When you register for an account, you'll always come back to exactly where you were before, and choose to be notified of new replies (either via email, or push notification). You'll also be able to save bookmarks and upvote posts to show your appreciation to other community members.
With your input, this post could be even better 💗
Register Login


