3D Printer Blog
-
@Don Pablo said:

Sounds like a case of the cheap stuff needing more tinkering? :(
I've always found this entire leveling thing, automatic or not, as an indication that 3D printers don't have the best structural solutions. Other machines that needs their worktables to stay level seem to manage that just fine - set once and forget. Well, I guess expensive 3D printers don't have that issue either. Likely a cost thing.
-
@Vidar said:
I've always found this entire leveling thing, automatic or not, as an indication that 3D printers don't have the best structural solutions. Other machines that needs their worktables to stay level seem to manage that just fine - set once and forget. Well, I guess expensive 3D printers don't have that issue either. Likely a cost thing.Agreed.
When was the last time you used a milling machine that cost 300? :ahhh -
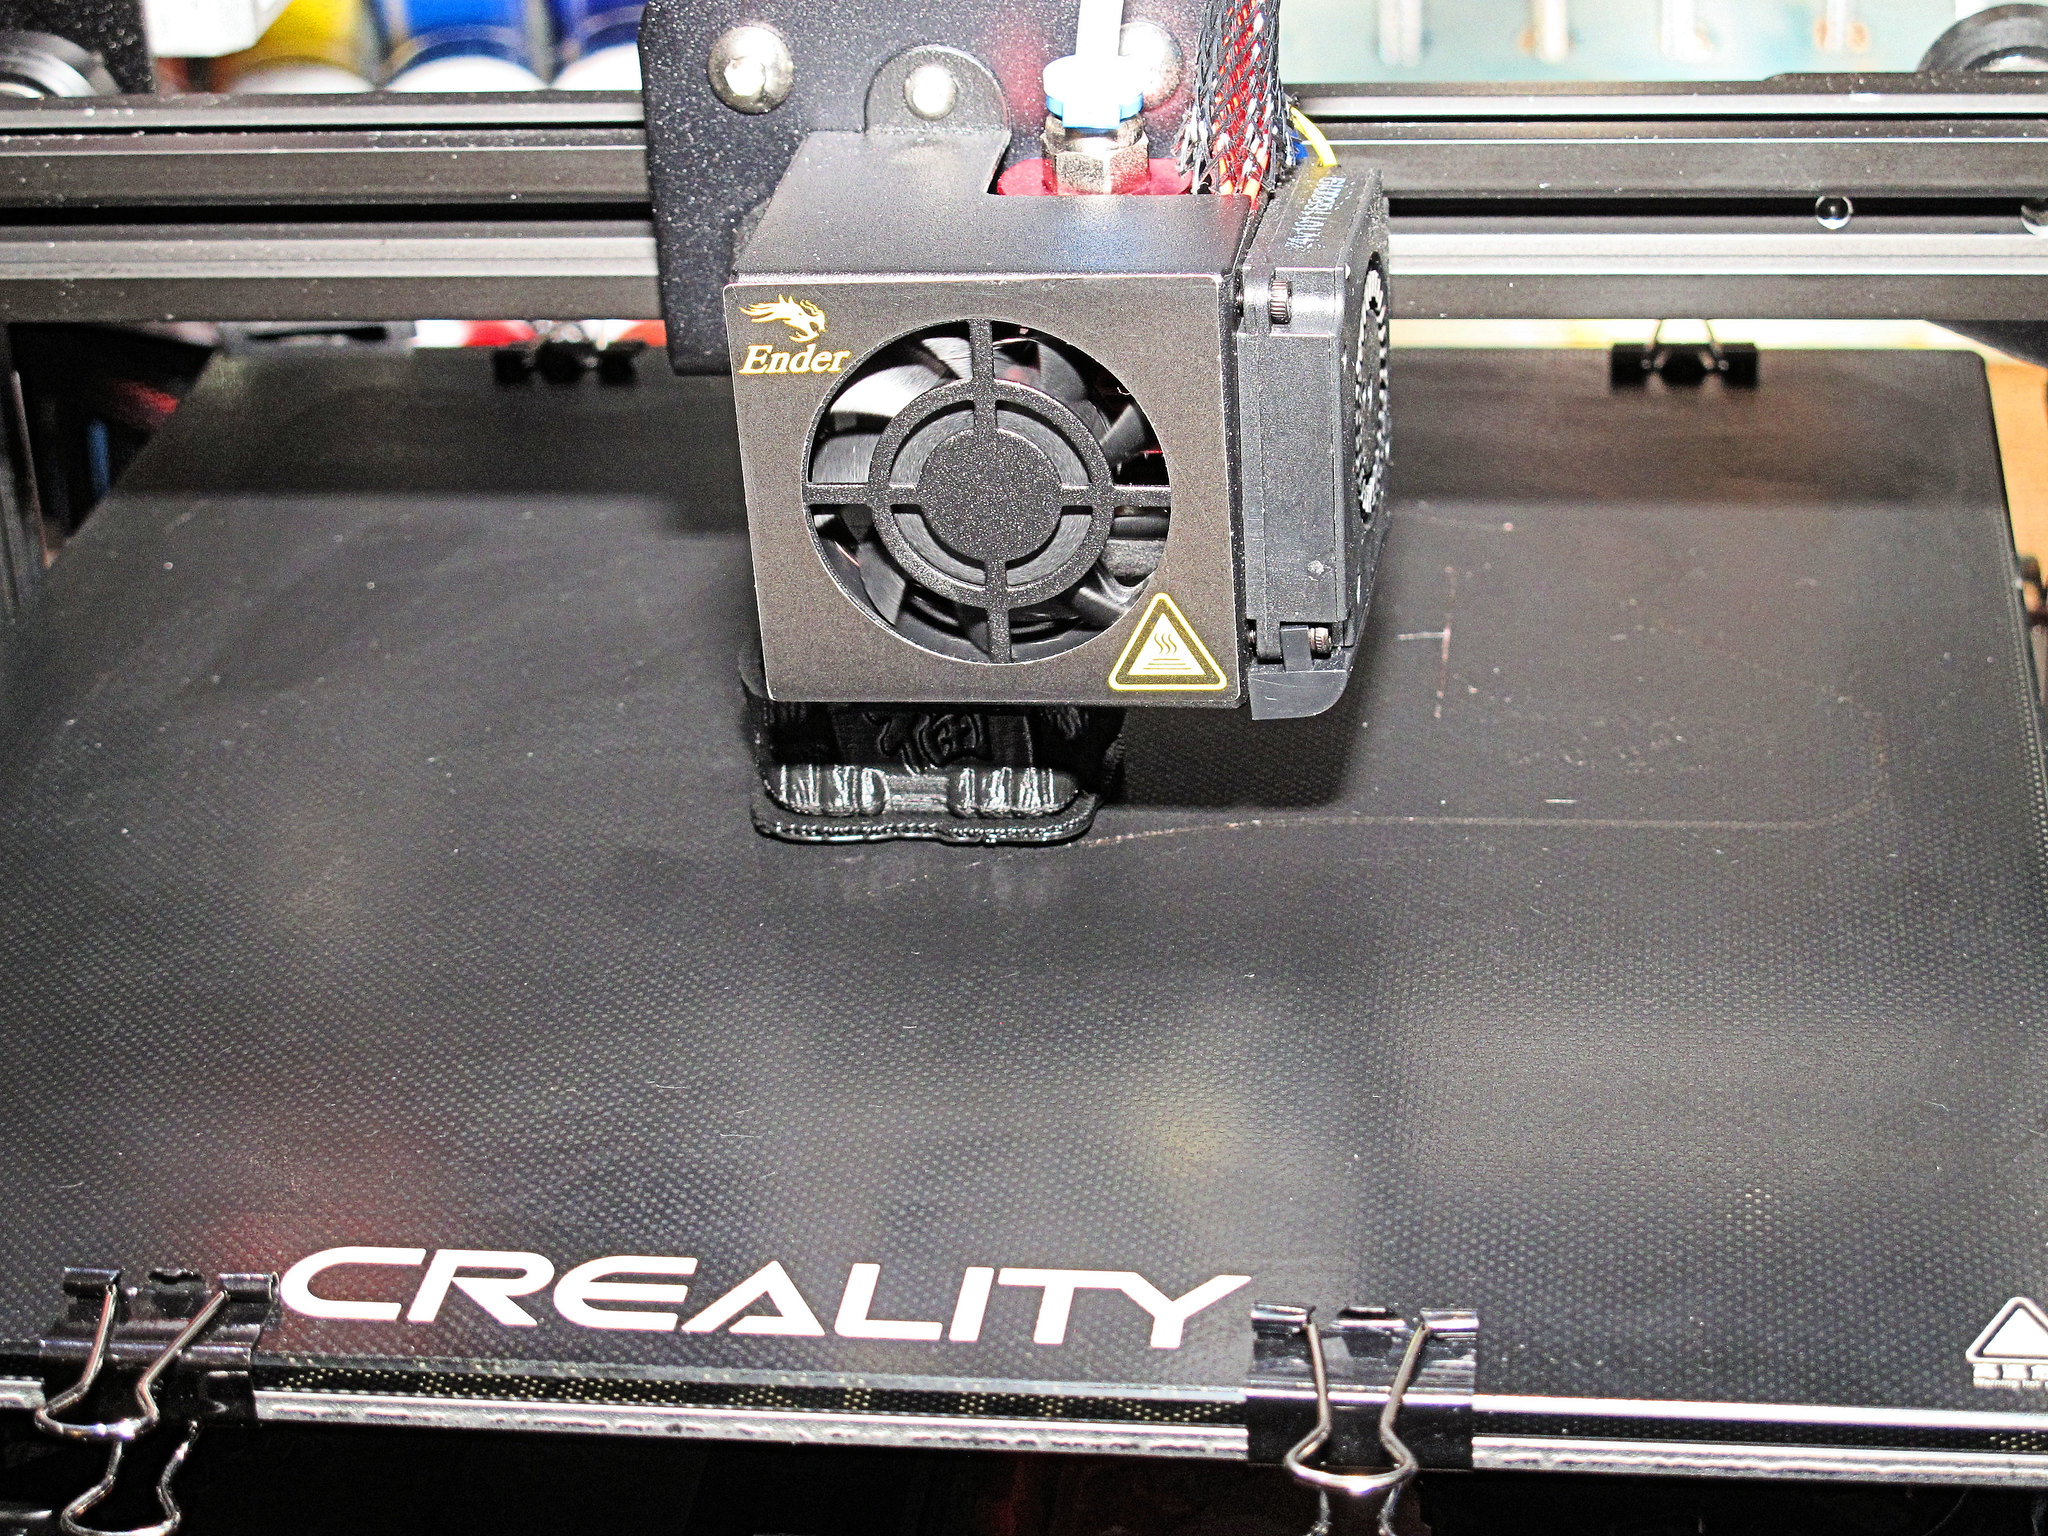
That sounds about right. The Ender 3 is a breeze to level because of its open design.
On the plus side, I received my BigTreeTech SKR Mini E3 main board today. That means, when I am up to it, I will upgrade the main board and the LCD. This will be a huge improvement if it all works. I have to laugh though...the board came in and it is so small. It is designed to replace the existing 8 bit board, upgrading it to 32 bit with more RAM, and a lot of extra goodies such as a BL Touch connector on the main board replacing the inelegant daughter board that comes with the BL Touch kit for the Ender 3. Upgraded OS as well. There are a few more benefits...which the video will go into greater details...if you are interested in watching it.

- YouTube
Auf YouTube findest du die angesagtesten Videos und Tracks. Außerdem kannst du eigene Inhalte hochladen und mit Freunden oder gleich der ganzen Welt teilen.

(www.youtube.com)
-
@Don Pablo said:
Agreed.
When was the last time you used a milling machine that cost 300? :ahhhMilling machine and milling machine... I got a cheap milling table some time ago for a project. It just didn't work. The table got stuck trying to move sideways. I tried to fix with some gentle swearing, a hammer and various screwdrivers. Now it is really stuck. On the positive side I now have some spare parts which magically appeared.
No, price of course have a lot to do with it. But I'm not convinced that is the entire story.
-
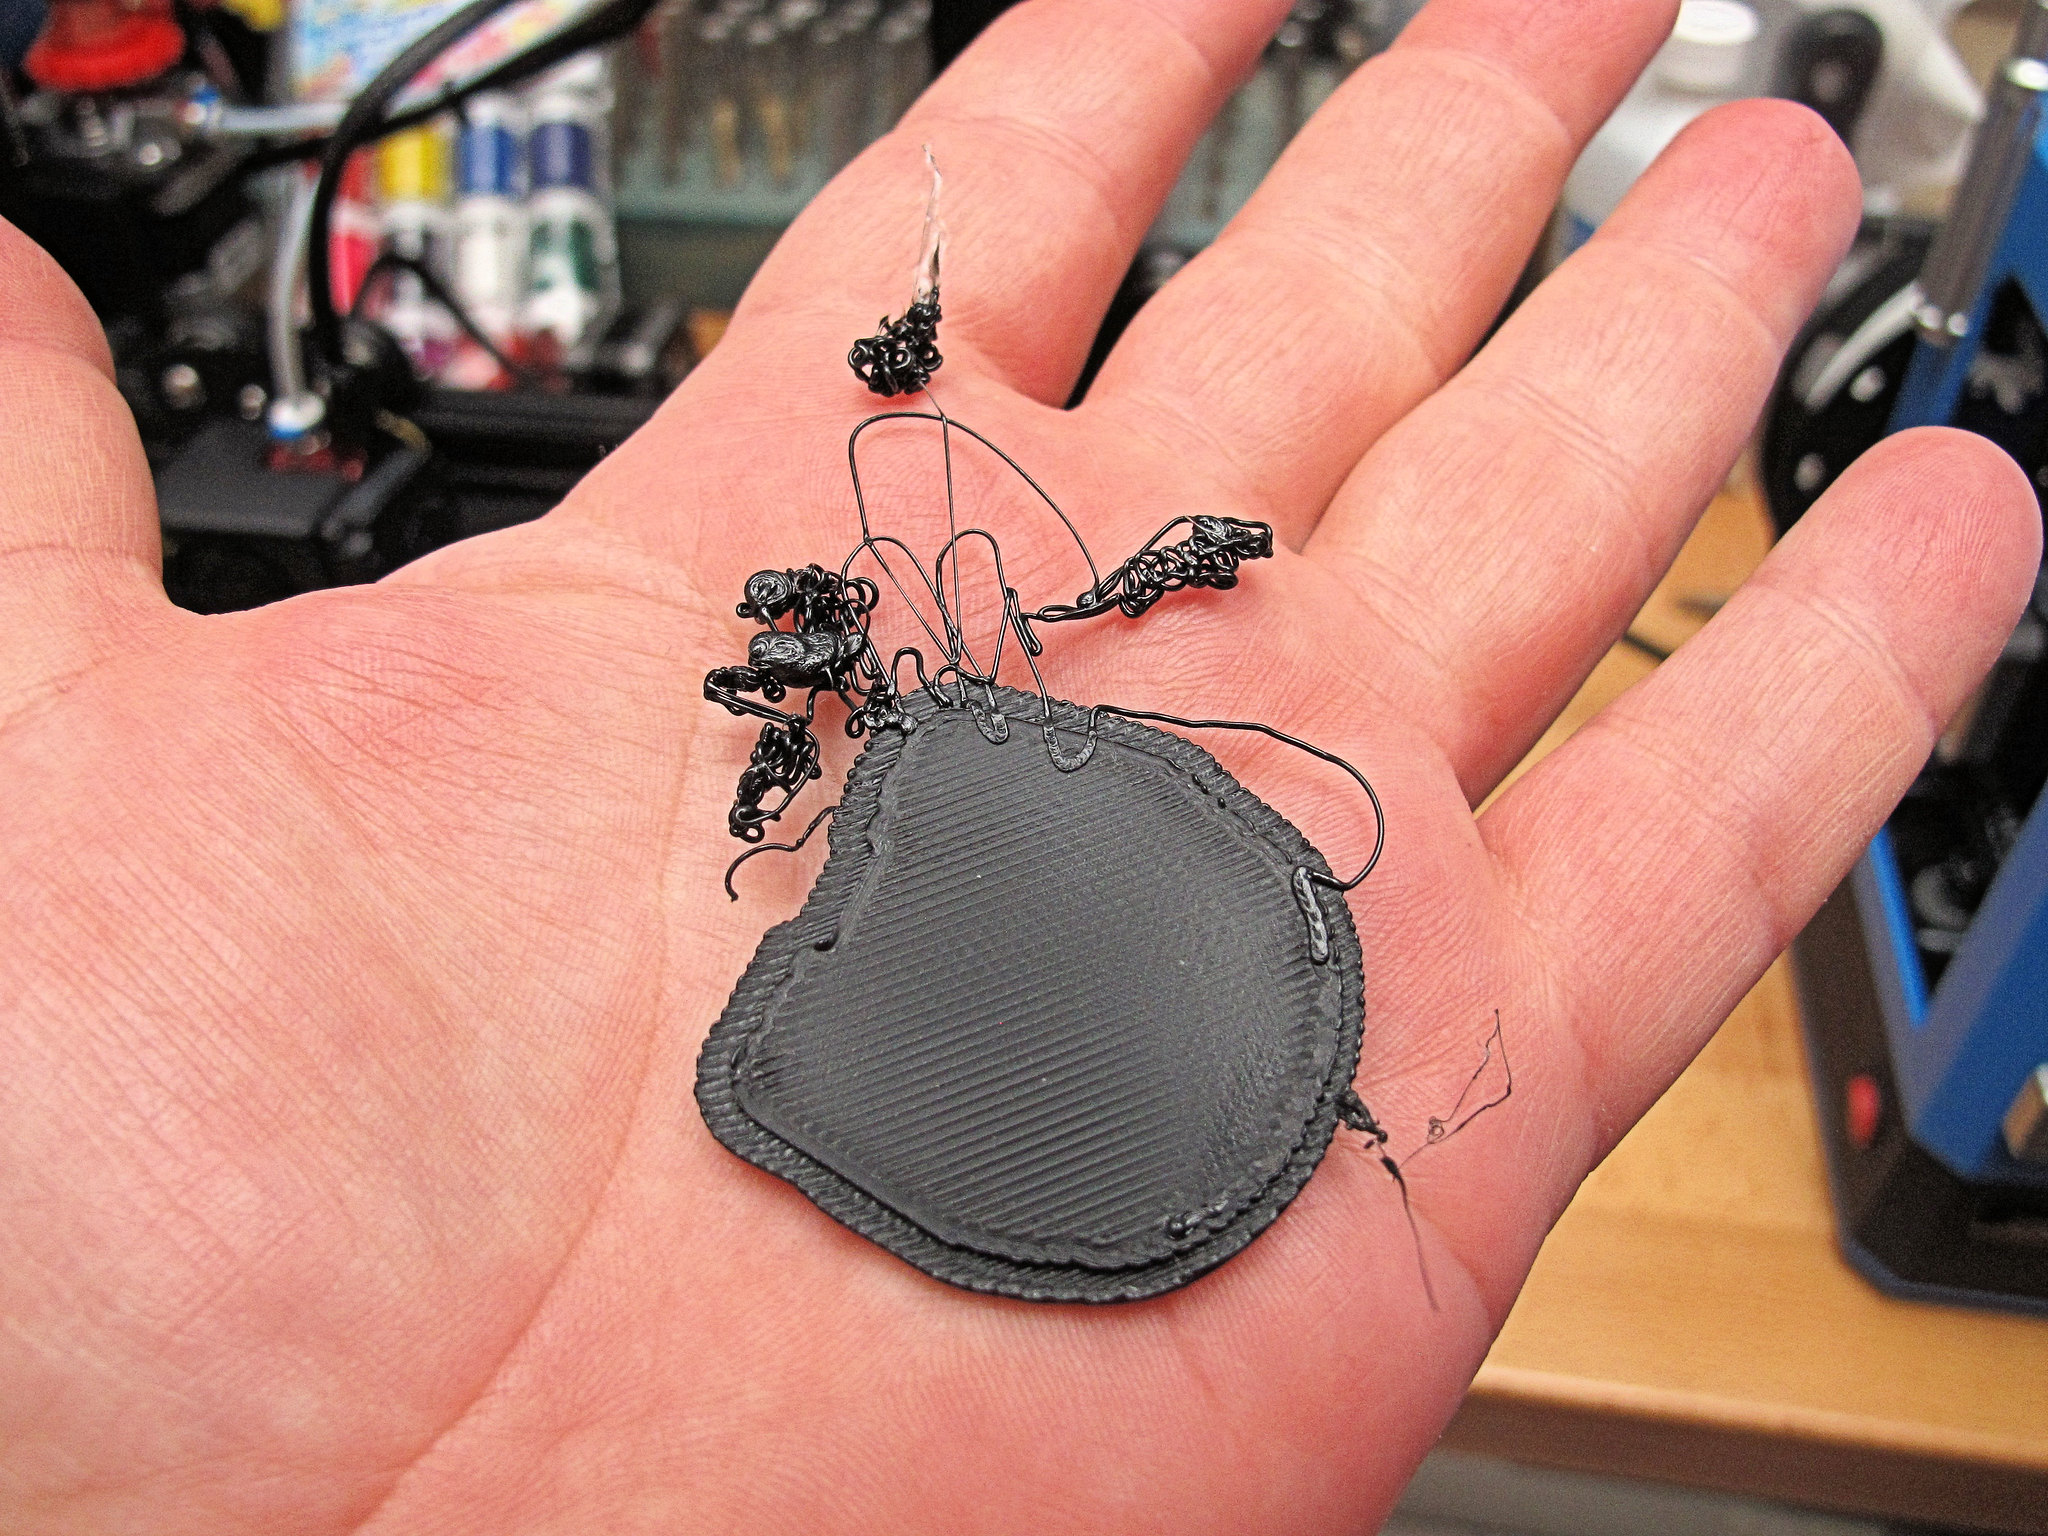
Got into a spot of trouble with the Ender 3. I changed filament from red to black. Amazes me I sill have a bit of red left after all those print jobs. Anyhow, I did something I now know I should not have done, and I learned from my mistake. There was about and inch of black filament that was kinked because if was pushed through a side hole of the spool during shipment to prevent it from unraveling. Instead of cutting off that inch, I just trimmed the end to feed it through the extruder. What followed was a bit of fun as nothing would print correctly, not to mention I was getting strings and glop forming. I re-leveled the bed to no avail. I couldn't figure it out. I even took the fans off the nozzle and cleaned the nozzle with one of those acupuncture needles. I was a bit frustrated and left it for this morning. Today, I tried another print and all worked as expected. The only thing I can figure out, was that the kinked filament caused me grief. Note to self, don't be a scrooge, trim that bent area next time I feed another spool of filament into the printer. I can only assume the bent filament section was fed through the extruder and all is good now.
This is what I was getting. Not an even layer of filament laid down, it would sputter, and ultimately not adhere to the heated bed. Luckily enough I stopped several print attempts quickly.
<a href="https://flic.kr/p/2j7Nche" target="_blank" rel="noopener noreferrer"><img src="https://live.staticflickr.com/65535/49960026441_4b2cf78a23_k.jpg" alt="banner" style="max-width: 100%; height: auto;" /></a>IMG_8526A by Chako, on Flickr
And this morning...back in the black. Sorry I couldn't help myself with that bad accounting pun.
<a href="https://flic.kr/p/2j7Ncfq" target="_blank" rel="noopener noreferrer"><img src="https://live.staticflickr.com/65535/49960026336_4235a404cc_k.jpg" alt="banner" style="max-width: 100%; height: auto;" /></a>IMG_8529A by Chako, on Flickr
I hope all goes well to completion of this test kitty.
-
50% and so far so good.
<a href="https://flic.kr/p/2j7Re2w" target="_blank" rel="noopener noreferrer"><img src="https://live.staticflickr.com/65535/49960617652_16274dffea_k.jpg" alt="banner" style="max-width: 100%; height: auto;" /></a>IMG_8532A by Chako, on Flickr
I still haven not played with my little CR-100 as of yet. I am thinking I may need to get a glue stick or something. I never understood how important a heated bed is for adhesion, or is that the glass is a far superior surface. I may have to look into getting a glass sheet for it down the road...maybe. It is small compared to the not all that large Ender 3 which I consider a medium sized machine.
<a href="https://flic.kr/p/2j7Meyh" target="_blank" rel="noopener noreferrer"><img src="https://live.staticflickr.com/65535/49959838988_e4246760e0_k.jpg" alt="banner" style="max-width: 100%; height: auto;" /></a>IMG_8533A by Chako, on Flickr
-
Ok...the piece let go 3/4s of the way. I examined the base and there was little material there. I think before I should try another attempt, I will have to delve deeper into the base and fill rate settings. I am more than happy that I am no longer having weird extruder issues however. As it stands, I can use this cat as a pencil holder or something, seeing that it is hollow.
-
@Chako said:
I never understood how important a heated bed is for adhesion, or is that the glass is a far superior surface. I may have to look into getting a glass sheet for it down the road...maybe.I know from frustrating experiences that some materials are very sensitive to the heated bed temperature - as little as a few degrees here or there makes a difference.
I might be wrong about this, but I think a non-heated bed is basically limited to a smaller selection of materials. On the upside it should work fine with those though.
-
I had a successful print of two utility knives however the tolerances between the two pieces are such that when I attempted to put them together, they got jammed.
However, the model did not come loose from the heated bed...so that is a good thing. I am going out today to buy myself some glue sticks to try that out.
-
Ok...I got fed up yesterday and decided to visit the local Walmart to find some glue sticks. I was able to procure some Elmers purple glue sticks. I tried it last night with an immediate failure. I rubbed the stuff on the glass plate and immediately cleaned it off with some alcohol because I had read someone on a forum somewhere stating they had great success doing this. I should have listened to my gut feeling. It failed. I took the glass plate off of the printer and washed if off really good. The textured side I used was a bit hard to clean very well. I decided to flip the glass over and print on the smooth surface. This time, I followed other directions to warm the bed up to temp and to put a layer of glue stick on...and to wait for it to dry. That appears to be working very well. I am in the process of printing off a figurine to test this out.
In the mail, I got my all metal upgrade extruder kit. Time to upgrade the little CR-100's plastic extruder.
Here is the plastic one. I am told that the filament wears a hole where the filament and plastic rubs together.
<a href="https://flic.kr/p/2j8spFw" target="_blank" rel="noopener noreferrer"><img src="https://live.staticflickr.com/65535/49967482416_eaa741869e_k.jpg" alt="banner" style="max-width: 100%; height: auto;" /></a>IMG_8534A by Chako, on Flickr
Here is the metal upgrade kit.
<a href="https://flic.kr/p/2j8spEu" target="_blank" rel="noopener noreferrer"><img src="https://live.staticflickr.com/65535/49967482356_63cdf20aa6_k.jpg" alt="banner" style="max-width: 100%; height: auto;" /></a>IMG_8536A by Chako, on Flickr
Installation was super easy, probably because it was my second kit install.
<a href="https://flic.kr/p/2j8tN7C" target="_blank" rel="noopener noreferrer"><img src="https://live.staticflickr.com/65535/49967752992_fe229071b8_k.jpg" alt="banner" style="max-width: 100%; height: auto;" /></a>IMG_8537A by Chako, on Flickr
I have no idea what I am printing here as I am trying out the glue stick on the surface. I flipped the textured side over and rubbed glue on the smooth metal plate. Seeing as this is a non heated bed, I am curious to see if this will work. So far, it is the furthest I have gotten on a print with the CR-100. X fingers.
<a href="https://flic.kr/p/2j8spCf" target="_blank" rel="noopener noreferrer"><img src="https://live.staticflickr.com/65535/49967482226_b134b5dd05_k.jpg" alt="banner" style="max-width: 100%; height: auto;" /></a>IMG_8540A by Chako, on Flickr
The little CR-100 does not appear to have to many upgraded pathways unlike the Ender 3. From what I can see, the metal extruder kit might be just it.
-
The glue stick worked wonders. In fact, I had a bit of difficulty getting the model to let go from the glass plate. Here is my failed kitty and successful Ice Age Proto-Squirell.
<a href="https://flic.kr/p/2j8rQsV" target="_blank" rel="noopener noreferrer"><img src="https://live.staticflickr.com/65535/49967370673_a50907119f_k.jpg" alt="banner" style="max-width: 100%; height: auto;" /></a>IMG_8543A by Chako, on Flickr
Now I remember what this will be...a monkey cup. Looks good so far. Only 37% complete.
<a href="https://flic.kr/p/2j8usJ6" target="_blank" rel="noopener noreferrer"><img src="https://live.staticflickr.com/65535/49967882881_db9564c1b1_k.jpg" alt="banner" style="max-width: 100%; height: auto;" /></a>IMG_8544A by Chako, on Flickr
If this works, this will be the first successful print from the Creality CR-100.

-
I kinda like it as well Don Pablo.
Well, I finally have success with the CR-100, and a glue stick was all that was needed.
<a href="https://flic.kr/p/2j8vyFm" target="_blank" rel="noopener noreferrer"><img src="https://live.staticflickr.com/65535/49968098018_05a3851bd7_k.jpg" alt="banner" style="max-width: 100%; height: auto;" /></a>IMG_8545A by Chako, on Flickr
Seen through the window.
<a href="https://flic.kr/p/2j8zxTv" target="_blank" rel="noopener noreferrer"><img src="https://live.staticflickr.com/65535/49968875807_dbd3b3d605_k.jpg" alt="banner" style="max-width: 100%; height: auto;" /></a>IMG_8547A by Chako, on Flickr
And the final product. I did have to scale the item down a lot, especially considering the CR-100 has a build volume of 100x100x80. I think I now have a dice cup. :D
<a href="https://flic.kr/p/2j8vyDC" target="_blank" rel="noopener noreferrer"><img src="https://live.staticflickr.com/65535/49968097918_8fe717b572_k.jpg" alt="banner" style="max-width: 100%; height: auto;" /></a>IMG_8550A by Chako, on Flickr
-
Looking good.
I regret not making better notes of my various settings and tricks for good results with various materials when I had them up and running well. It might be a good idea to do better than me at that.. :D
With some luck I'll get to make a little design or two later this summer where the end products are actually made on the filament 3D printer. That might get interesting.
-
@Chako said:
I bought it as a lark because it was just darn cute.Ah, I struggle with that issue too. I'll have to avoid tool shops when that small Knipex Cobra comes around. Or more likely, just accept my destiny and get it over with. Knowing Knipex I'd likely have to eat pasta for week as a financial plan. (Someone is screaming no more pasta in the background - I might need a new financial model! :D )
-
while I don't have a printer I had seen some articles that hinted that enclosures help with both noise and temp issues. As you seem to have realized.
-
I wanted to print a vase as something large and interesting to do. I found quite a few over at thingiverse, and decided to pull a nice model from there and print it. I import it into Cura 4.6.1 and found that after slicing it, it is solid. I went online to find out how to print this correctly. I located a setting called "spiralize outer countour". Apparently this will print any object with single wall thickness with a bottom and no top. Perfect. However, it took me several articles online to figure out how to activate it. You have to go into Cura settings and check a box among the hundreds of other boxes (found under specialized mode section). Once check-marked, the option comes up and enables you to print a vase. After activating this and slicing the model, it looks good to go. I am now printing it in black PLA, and am very curious to see if this print will work.





Hello! It looks like you're interested in this conversation, but you don't have an account yet.
Getting fed up of having to scroll through the same posts each visit? When you register for an account, you'll always come back to exactly where you were before, and choose to be notified of new replies (either via email, or push notification). You'll also be able to save bookmarks and upvote posts to show your appreciation to other community members.
With your input, this post could be even better 💗
Register Login